|
Panoramic Photography
Last Updated: 06-Sep-2019 When we travel, there's nothing better than experiencing a fantastic panoramic view, capture it, and take it home with us. Of course, a dedicated panoramic camera would be the best solution to capture a wide view but since we don't own one, and probably never will, we do it the old fashion way by capturing the panoramic view with multiple images and then stitch them together to create a panorama. No problem! Of course, this is just one method to create panoramas and hopefully the example and samples below will help to inspire you to capture and create their own next great panorama.
With the help from today's computer and software, panoramic photography can be easily created using conventional cameras, film or digital. Although there are dedicated stitching software available to use for the creation of panoramic images, manual stitching using image editing software such as Photo-Paint, Photoshop, etc, will still produce the best image quality. By doing it manually, almost all aspects of the stitching process can be controlled, manipulated, and altered to create the perfect fusion between images that make up a panorama. There is absolutely no substitute for the manual process and the added human touch.
To create a panoramic image, the individual frame must first be taken with some overlapping with each other. As a rule of thumb, 25% overlapping is a good start. However, depending on the focal length of the lens, plus/minus adjustment will be required to compensate for image distortion associated with the lens type. For best results, use a prime lens to capture images for a panorama. Prime lenses produce the least amount of image distortion which will require less effort to correct during the stitching process. A zoom lens can also be used but more adjustments will be required in the stitching process to compensate for image distortion often caused by this lens type. Another factor to consider to lessen the effort to correct distortion during the stitching process is to use longer focal length lenses. Longer focal length produces less perspective distortion than shorter focal length. Assuming the right lens is used and a good set of images is captured, then, in the digital lab, let the stitching of the panorama begins.
One last thought, people often ask if a tripod or a monopod is required to do this - well, the answer is only if you like to carry one around when you travel. As can be seen in the example below, a tripod was not used and none of the four images really lined up at all. But it doesn't matter in the final outcome. A tip to keep in mind when taking the pictures is to compose the shots loosely to allow trimming and cropping during the stitching process and in the final result.
In the example below, this panorama is created from four frames with an overlapping of about 10-20% between shots when they were originally taken.
The next step is to position the images to line up the different primary subjects in the overlapping frames.
With each layer, adjust and control the colors and tonality to best match each other. The first two frames are shown with colors and tonality adjusted to match each other.
After matching the tone and colors, blend out the edges of each overlapping layer.
As necessary, rotate to level out the image.
Crop the panoramic view...
Make final color adjustment as necessary and ...voila, the panoramic image is complete!
Below are some pan-tastic results created from three or more frames... (click on the image to see a larger view)
San Francisco, USA ( 4 frames)
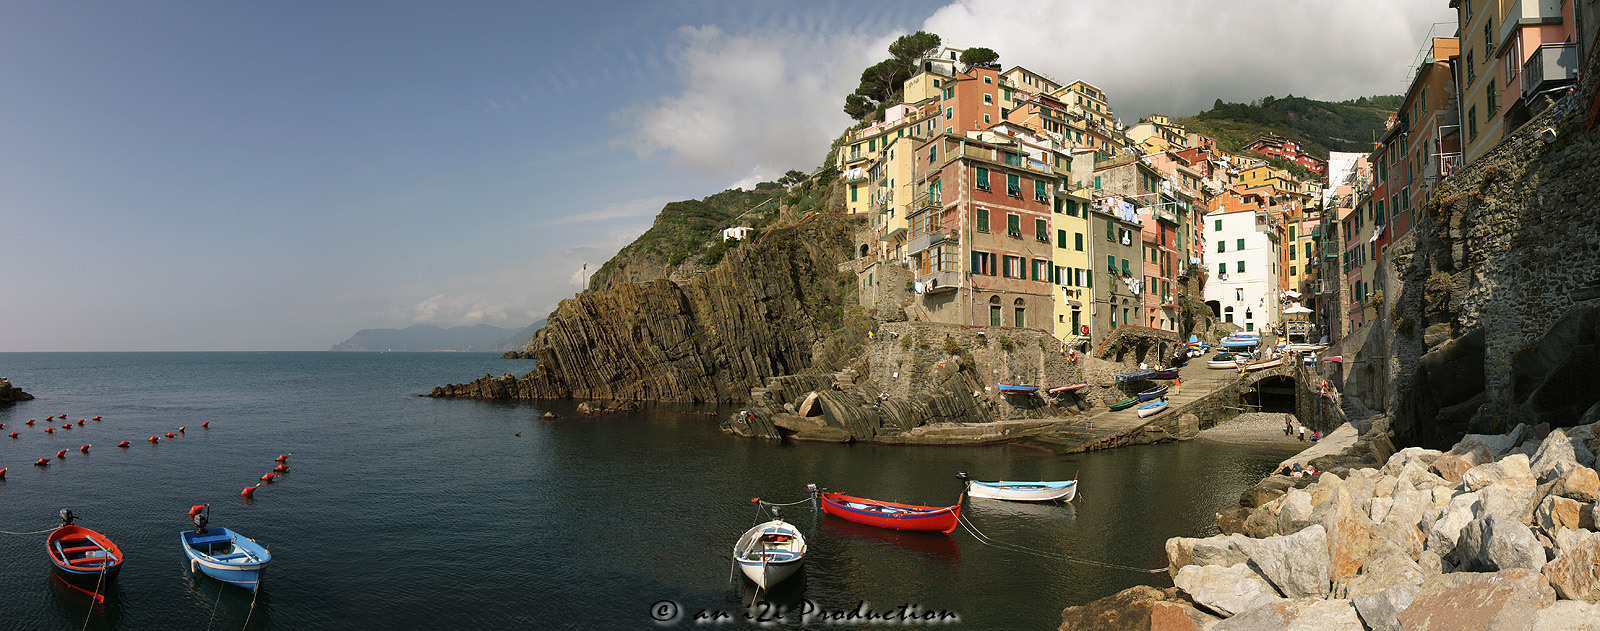
Riomaggiore, Italy (5 frames)
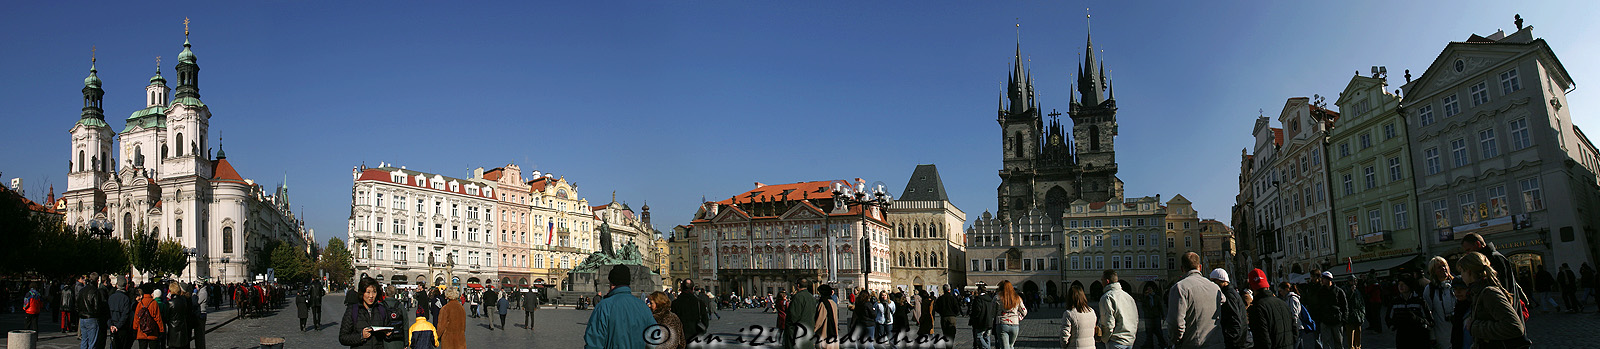
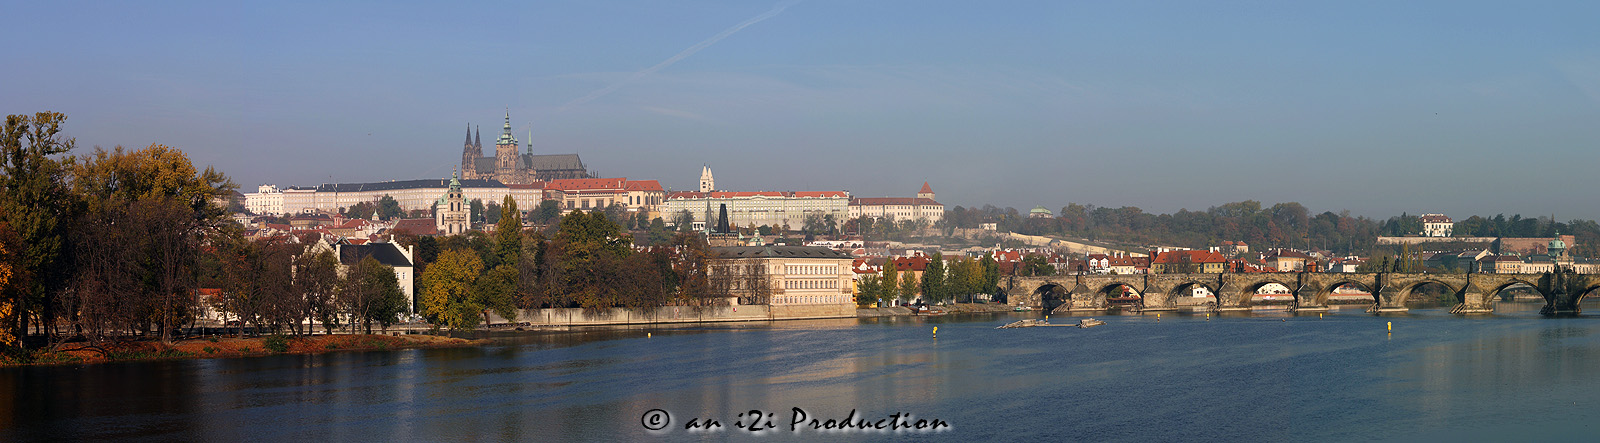
Prague, Czech Republic (5 frames)
Prague, Czech Republic (4 frames)
Hong Kong's Night Lights (5 frames)
Long Beach, USA (12 frames)
Lisbon, Portugal (6 frames)
Lake Como, Italy (3 frames)
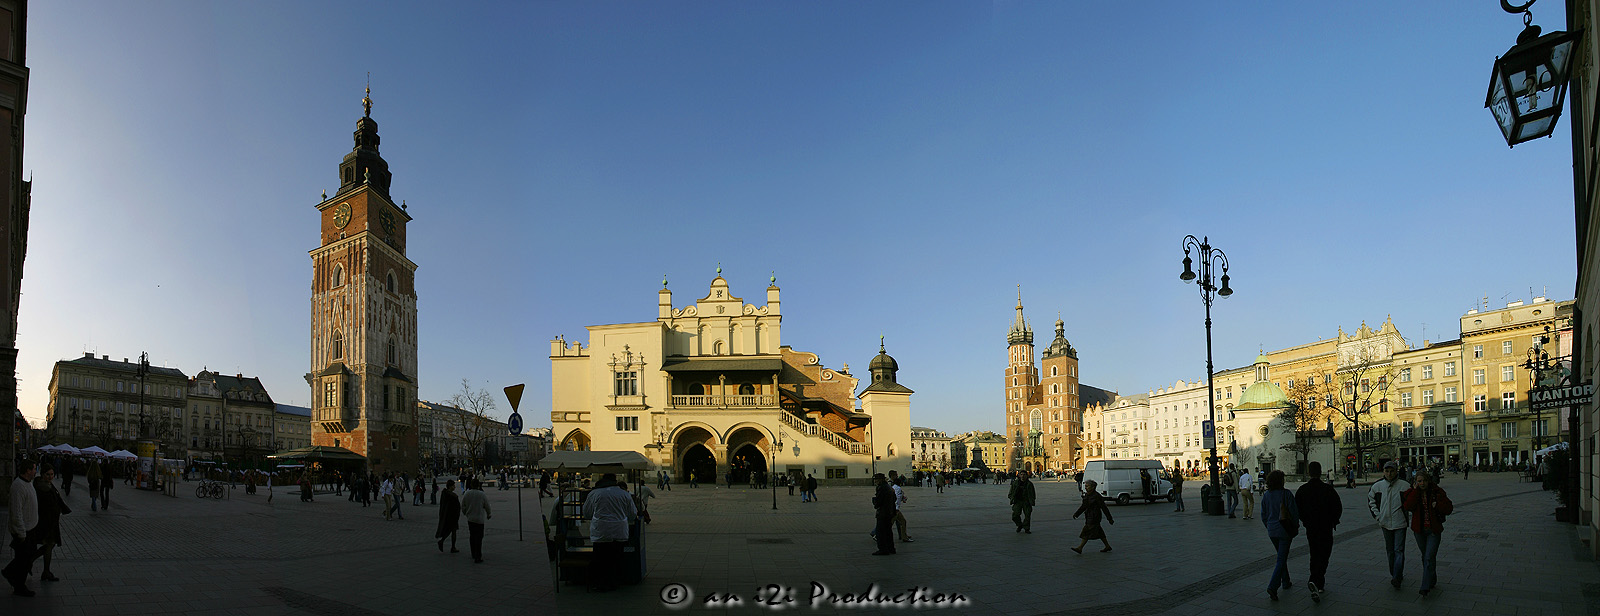
Krakow, Poland (5 frames)
Hong Kong (10 frames)
Firenze Night, Italy (6 frames)
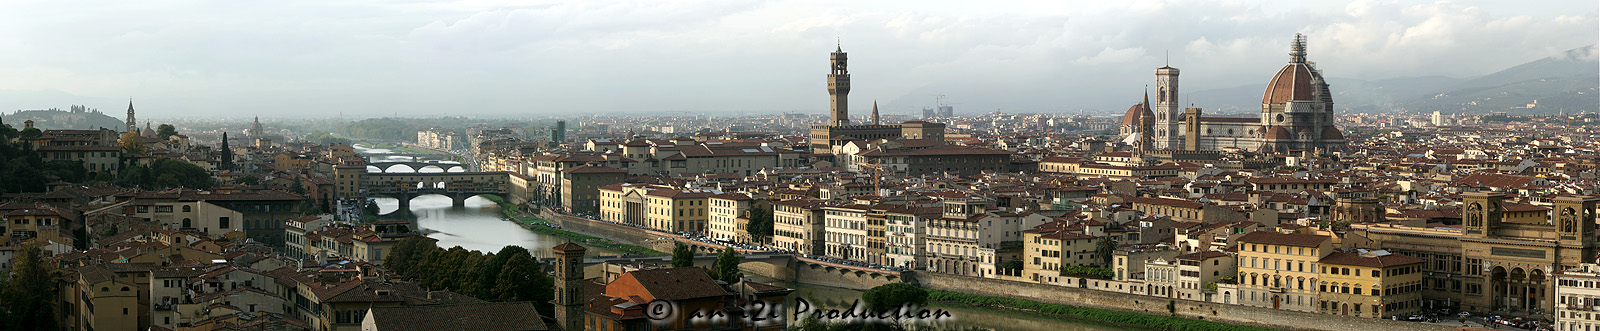
Firenze, Italy (9 frames)
Carcassonne, France (3 frames)
Budapest, Hungary (5 frames)
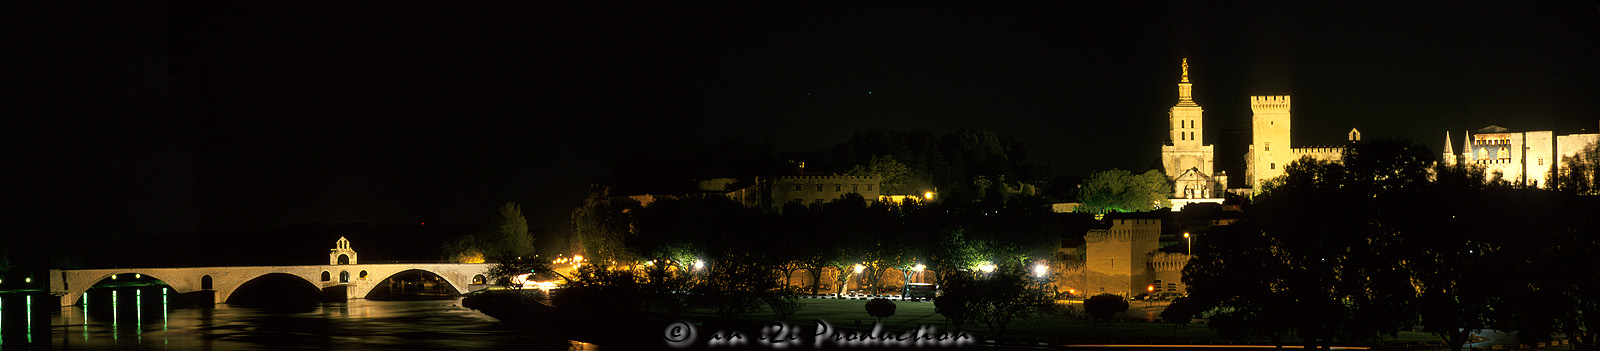
Avignon at Night, France (3 frames)
Avignon, France (4 frames)
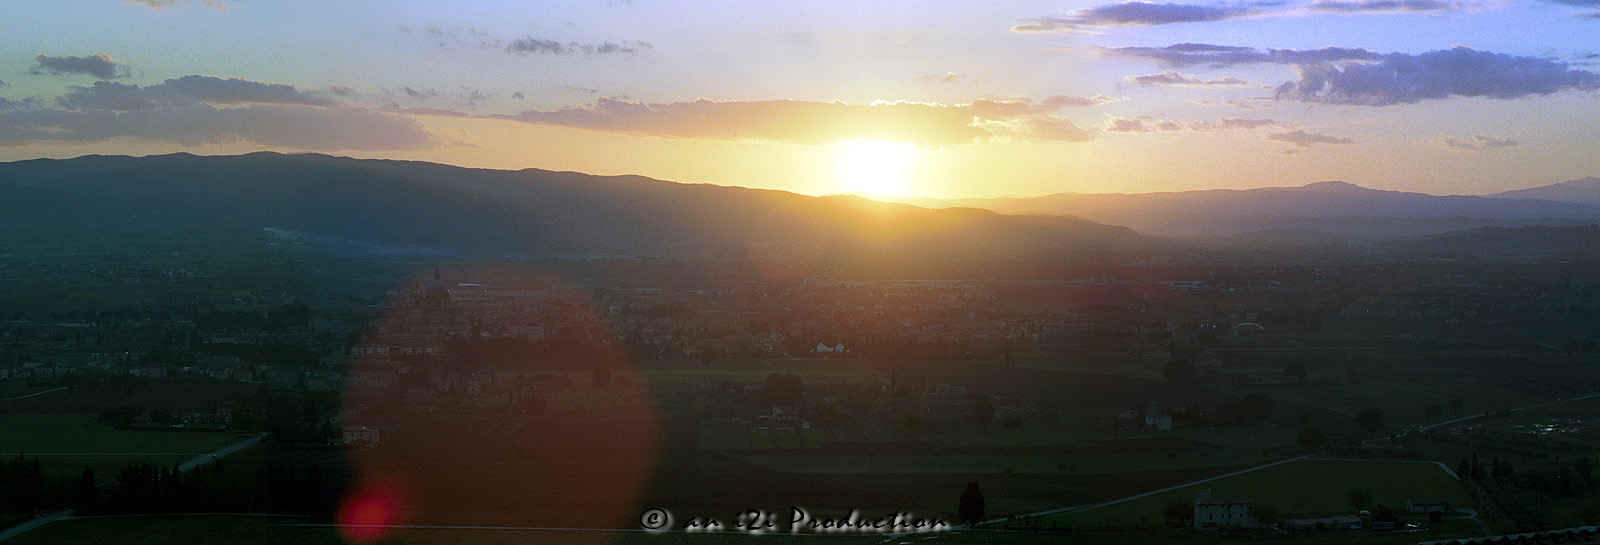
Assisi Sunset, Italy (3 frames)
Assisi, Italy (4 frames)
Arromanche, France (6 frames)
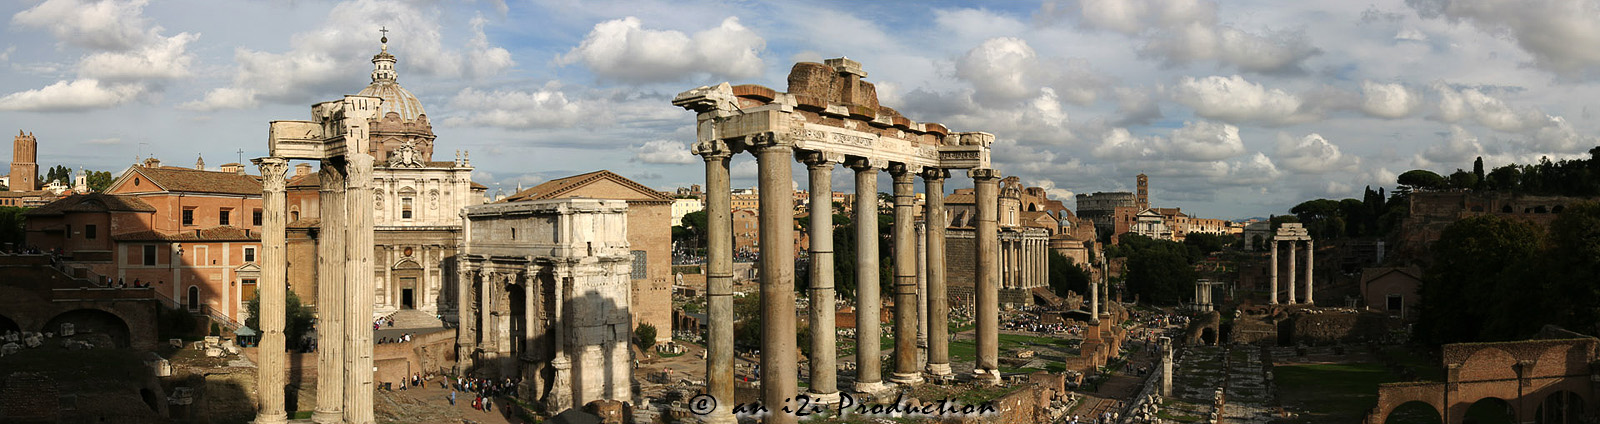
Rome, Italy (8 frames)
Birkenau, Poland (4 frames)
San Diego, USA (10 frames)
Prague, Czech Republic (6 frames)
Hvar, Croatia (11 frames)
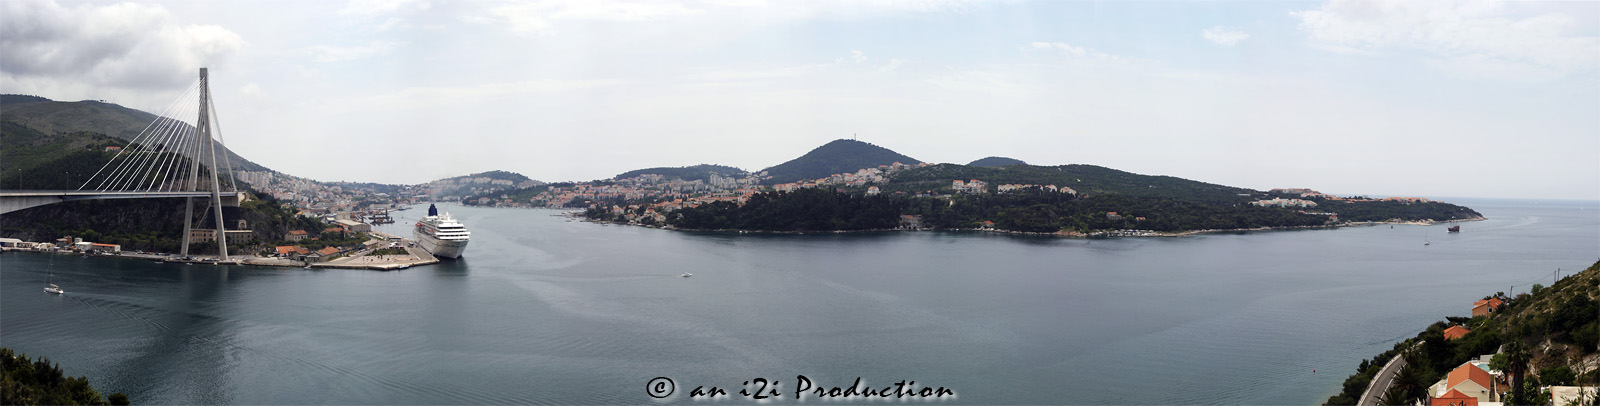
Dubrovnik, Croatia (8 frames)
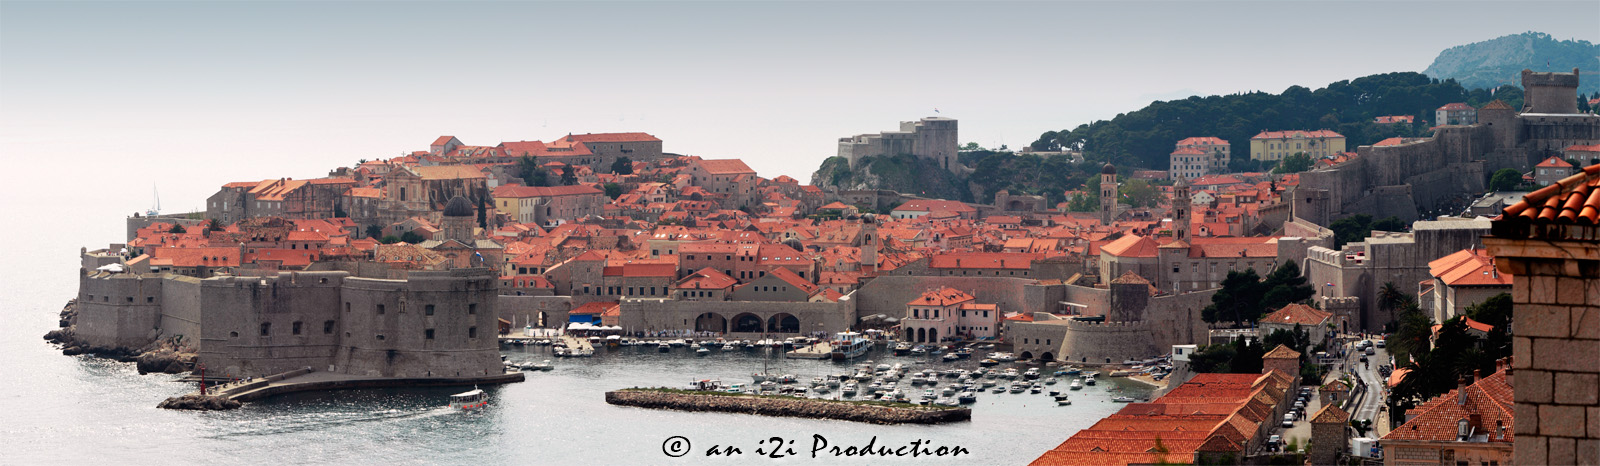
Dubrovnik's Southside, Croatia (7 frames)
Dubrovnik Harbor, Croatia (8 frames)
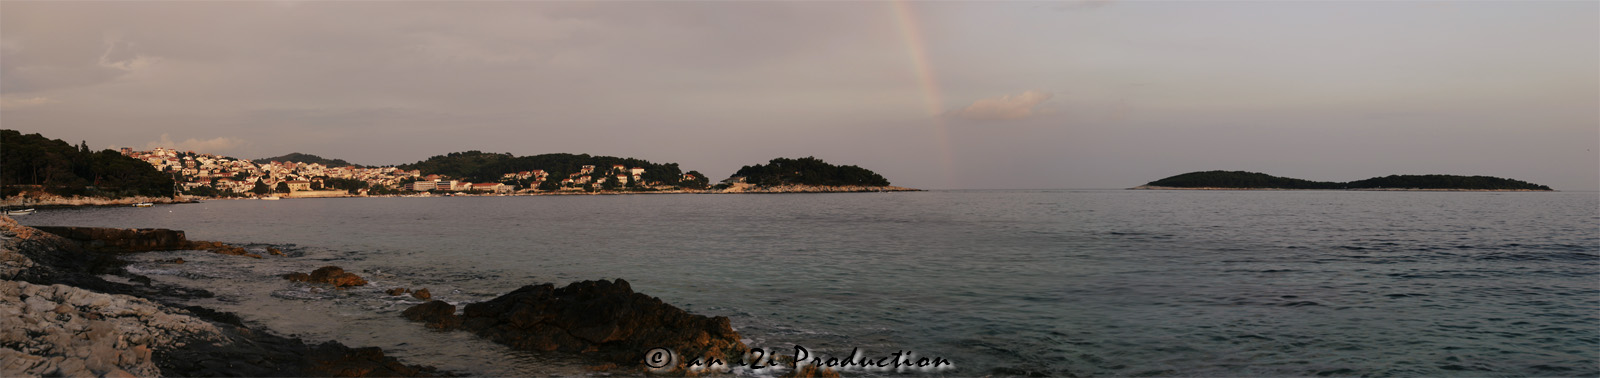
Hvar Coast, Croatia (4 frames)
Bellagio, Italy (5 frames)
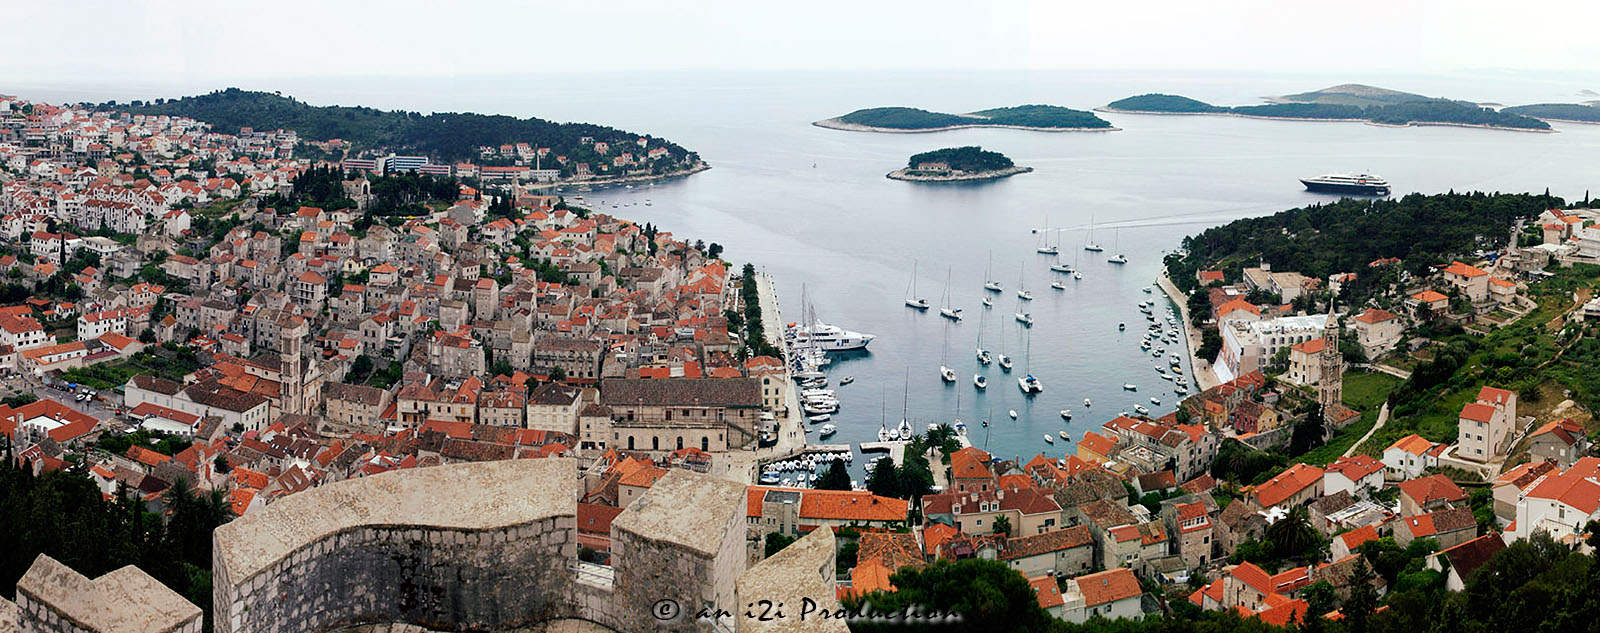
Hvar from Above, Croatia (7 frames)
|